Introduction
In this article, I will be securing connections to GitHub with the Secure Shell Protocol (SSH) using Linux or Windows Subsystem for Linux (WSL).
Generate an SSH Key
The first step is to have a set of SSH keys; one private and one public. If you have the SSH keys, you may skip this step, but if you need or want a new set of SSH keys, please execute the command below.
$ ssh-keygen -t ed25519 -C "[descriptive message]" -f ~/.ssh/githubThe options used in the command above are:
-t specifies the type of key to create.
-C provides a new comment that will be added as metadata at the end of the public key.
-f specifies the filenames for the key files. In the command above, the private and public keys will be in the files github and github.pub, respectively.
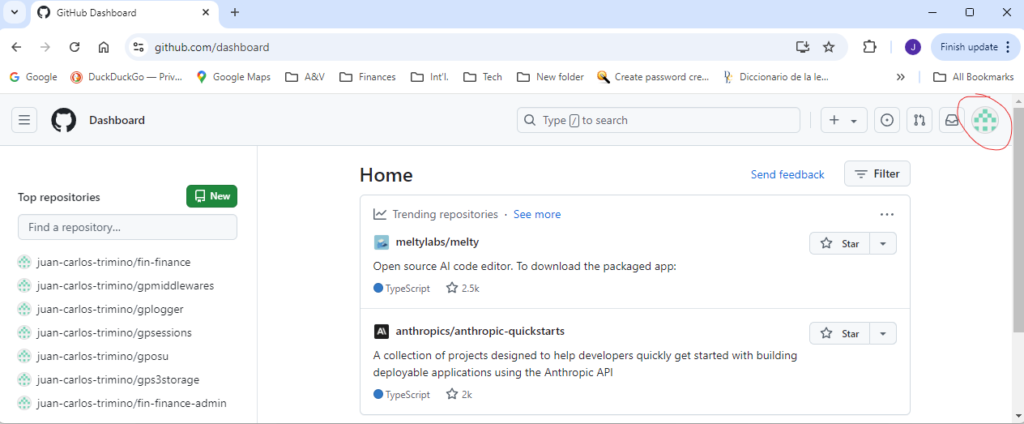
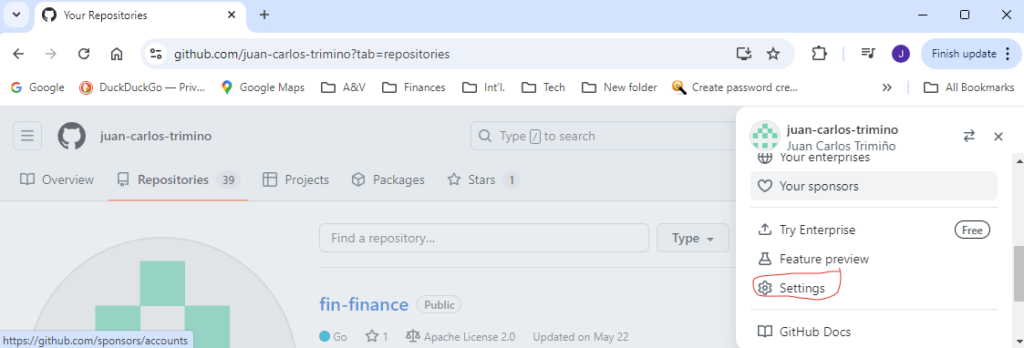
For the descriptive message, I prefer to use my primary GitHub email, but you may use a more practical message or comment. To obtain your primary GitHub email, go to GitHub and navigate to the Profile photo in the upper-right corner and select Settings as show below:
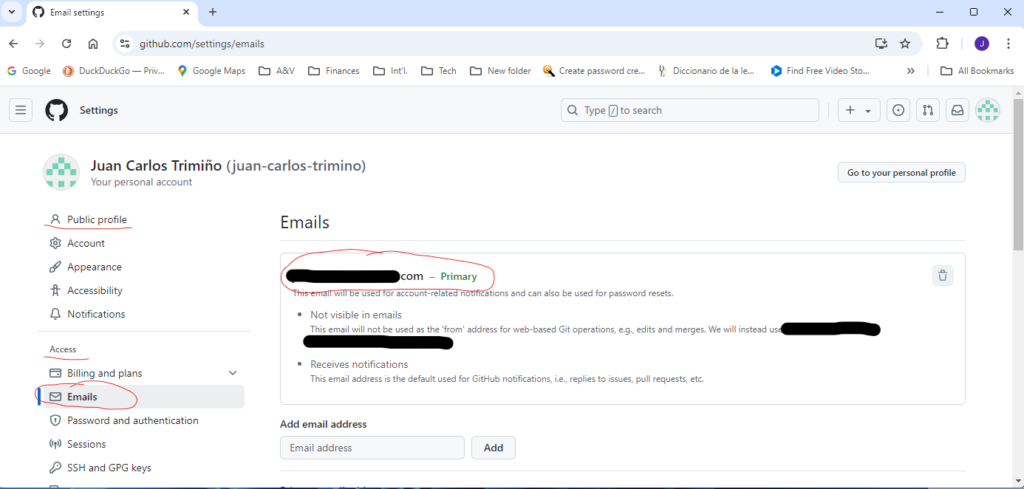
Next, on the left-hand side under Access, select Emails and copy the email:
If you are using a legacy system that doesn’t support the Ed25519 algorithm, execute:
$ ssh-keygen -t rsa -b 4096 -C "[descriptive message]" -f ~/.ssh/githubFinally, when creating the SSH keys, you will be asked to provide a passphrase, but this is optional. You will either enter a passphrase or simply hit the Enter key.
Add Public SSH Key to the GitHub Account
Once the SSH keys have been created, you will need to add the SSH public key to your GitHub account. The easiest way to do that is by copying the public key to the clipboard. To copy the public key to the clipboard, execute:
$ cat ~/.ssh/github.pubOr you may want to use VS Code
$ code ~/.ssh/github.pubEither way, copy the public key as shown below:

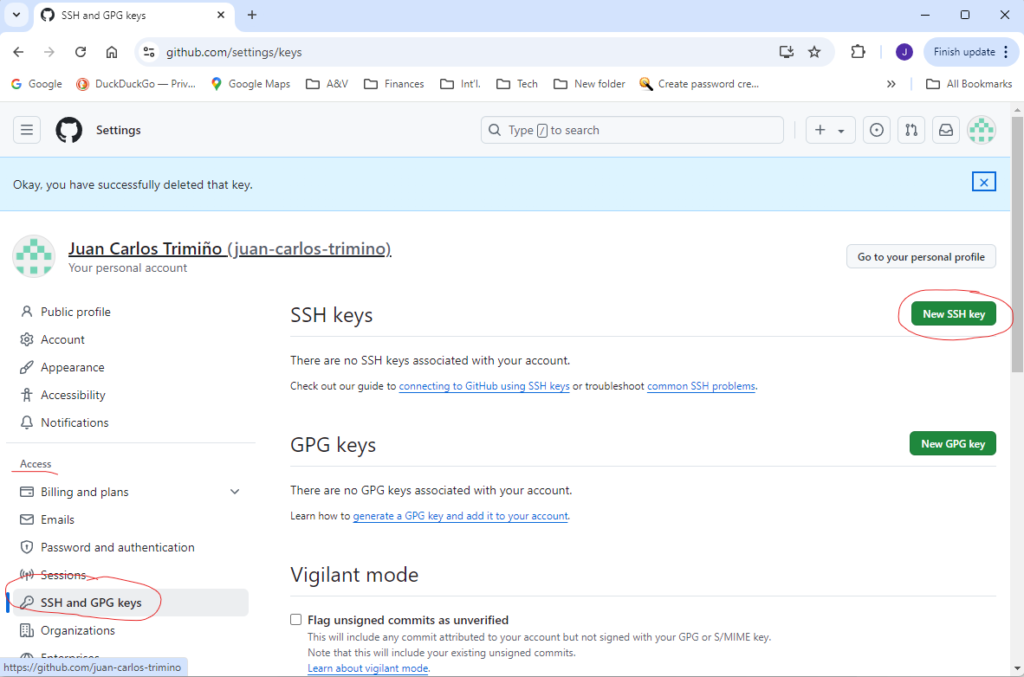
Once the public key is in the clipboard, go to your GitHub account and navigate to the Profile photo in the upper-right corner and select Settings as shown above. Next, on the left-hand side under Access, select SSH and GPG keys and click the New SSH key button.
Next, under the Title edit box, give the new SSH key a name although it is not a requirement; however, if a name is not given, the descriptive message that was given when creating the key will be used. For the Key type, select Authentication Key. In the Key edit box, paste the public key. Finally, click on the Add SSH key button.
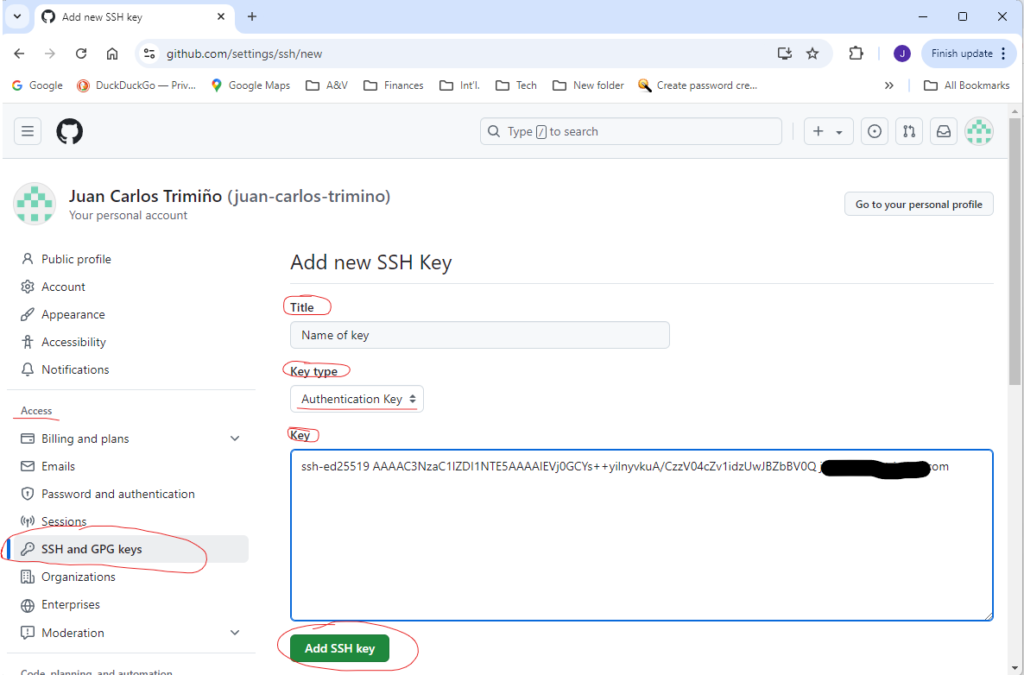
After clicking the Add SSH key button, you will be asked for the password to your GitHub account.
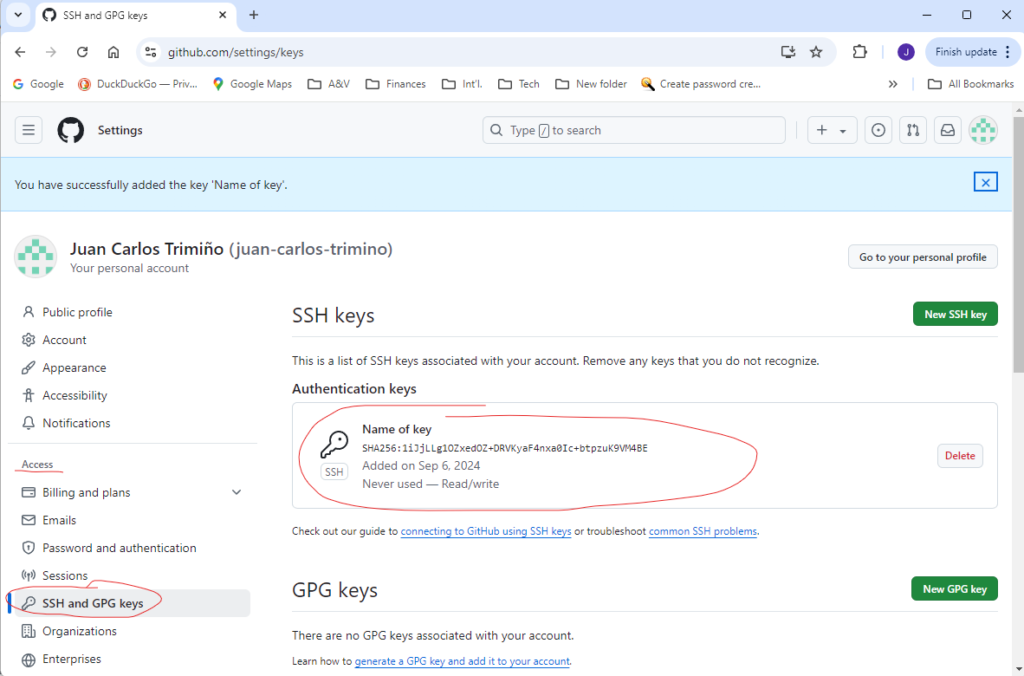
Once the public key has been added, it is ready to be used.
The ssh-agent
Although not a requirement, you may want to use the ssh-agent, which manages private keys for SSH connections. It holds the private keys in memory, unencrypted, and ready for use. Furthermore, if you use a passphrase when creating the SSH keys, you only have to provide the passphrase once, when the private key is initially loaded.
Most Linux systems include the ssh-agent by default, but you must start it. To start the ssh-agent in the background, execute:
$ eval "$(ssh-agent -s)"On a side note, by adding the above command to your ~/.bashrc (or ~/.profile) file, the ssh-agent will automatically starts at system start up. If you need to verify that the ssh-agent is running, check the SSH_AUTH_SOCK environment variable. If set, the ssh-agent is presumably running:
$ echo $SSH_AUTH_SOCKOnce the ssh-agent is running, you add the private key by executing the command:
$ ssh-add ~/.ssh/githubIf you need to list the fingerprints of all private keys loaded, execute:
$ ssh-add -l -E sha256To see a list of all public keys, run:
$ ssh-add -LYou can use the following command to delete all private keys loaded:
$ ssh-add -DTo kill the ssh-agent process, run the command below:
$ eval "$(ssh-agent -k)"The SSH Config File
The SSH configuration files are used for automating SSH connections. The default location for the user-specific config file is ~/.ssh/config, and the default location for the system-wide config file for all users is /etc/ssh/ssh_config. The user-specific directory (~/.ssh) is automatically created when the ssh command is executed for the first time. However, if the directory does not exist on your system, you will need to create it. You may do so by executing:
$ mkdir ~/.ssh && chmod 755 ~/.sshAs with the user-specific directory, the user-specific config file may not exist on your system, and it needs to be created. To create the file, execute:
$ touch ~/.ssh/configThis file must be readable and writable only by the owner and not accessible by group and other users. To set the proper permission:
$ chmod 600 ~/.ssh/configAt this point, you can add the appropriate information to the file, which is text-based. Using your preferred editor, open the config file:
$ vi ~/.ssh/config

# Indentations and blank lines are optional, but recommended for readability.

IdentityFile ~/.ssh/github

# GitHub
Host github
  HostName github.com
  Port 22
  AddKeysToAgent yes
  User xxxx-xxxx-xxxx
# LogLevel INFO
  LogLevel DEBUG
Although the above config file is user-specific (~/.ssh/config), you must be aware that SSH configurations can be set in multiple locations, and understanding the precedence of such locations is important. SSH takes the first value it finds for each parameter. Command line options have the highest precedence, overriding any client configuration files. The user’s local file has next highest precedence, and the global file has lowest precedence; furthermore, within a configuration file earlier entries take precedent over later entries.
The SSH config file is a versatile tool that every SSH user should embrace for a more productive and secure workflow. And after a brief introduction to the subject, you may want to refer the ssh, ssh_config, and sshd_config man pages for more information.
Verify the SSH Config File
To verify your configuration make a change in your repository, stage, commit, and push it.
$ git add .
$ git commit -m "verifying the configuration."
$ git push origin main
If everything is configured correctly, your push should succeed without prompting for credentials or giving an error. But if the push fails, then you will need to debug the problem. Fortunately, there are a few commands that you can use to help debug the problem. First, you try connecting to the repository using the SSH private key directly with this command:
$ ssh -i ~/.ssh/github -T git@github.comNext, you try connecting without specifying a key:
$ ssh -T git@github.com
Hi <your-user-name>! You've successfully authenticated, but GitHub does not provide shell access.
If successful, you will see a response similar to the above. But if you want more details, adding multiple -v options increase the verbosity (the maximum is 3). For example:
$ ssh -Tvvv git@github.comIf you are switching from HTTPS to SSH, you must change the remote URL in Git to ensure your local repositories point to the correct remote server. (This is particularly important for repositories created before the switch.) Before changing the remote URL, it’s a good idea to check what is the current remote URL. This can be done using:
$ git remote -v
origin  https://github.com/<user-name>/<repository-name>.git (fetch)
origin  https://github.com/<user-name>/<repository-name>.git (push)
This lists all current remotes associated with the repository and their URLs (HTTPS). To switch from HTTPS to SSH, you must obtain the URL for SSH. To do so see the figure below.
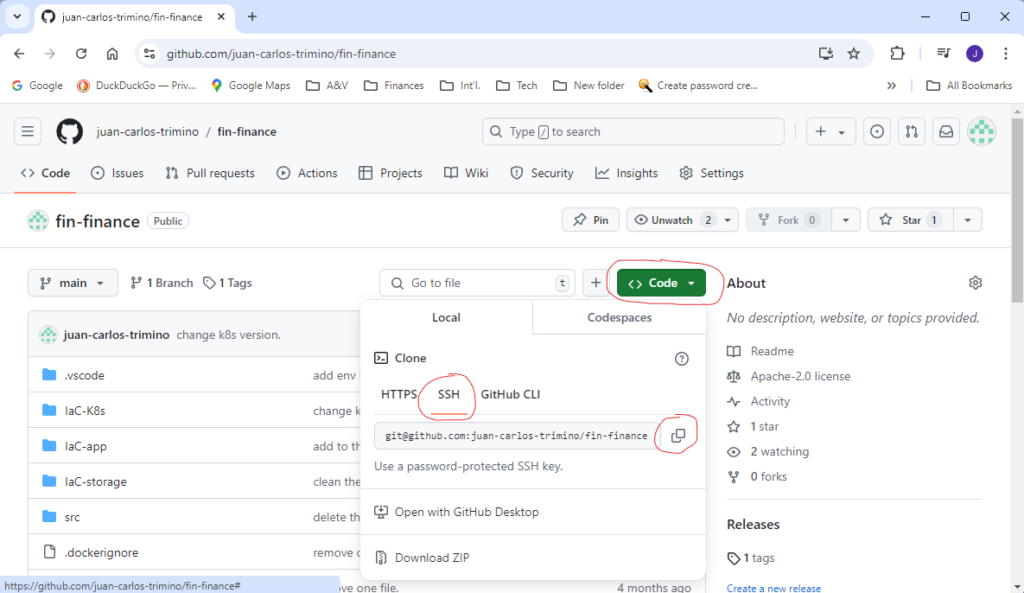
As shown in the figure above, go to the desired repository. Once in the repository, click on the <> Code button. Under the Local tab, select SSH and copy the URL. With the new URL in hand, run:
$ git remote set-url origin git@github.com:<user-name>/<repository-name>.gitAfter updating the remote URL, it’s important to verify the change was successful. You will run the command below once again:
$ git remote -v
origin git@github.com:<user-name>/<repository-name>.git (fetch)
origin git@github.com:<user-name>/<repository-name>.git (push)
Once more, this lists all current remotes associated with the repository and their URLs (SSH).
Conclusion
By following the steps described above, you will be able to set up SSH keys for GitHub accounts. And since these keys are used to authenticate secure connections, you will be using a secure connection between your local machine and the GitHub server, but without a password.