Introduction
This will be a multi-part blog series exploring a project on how to deploy a microservices application using Terraform, Red Hat’s OpenShift Container Platform (OCP), IBM Cloud for the infrastructure, IBM Cloud Object Storage (COS), and different technology stacks. The technology stacks are based on a combination of tools, software, and frameworks, which are used to build each microservice.
The app (memories) is based on the app from the book Bootstrapping Microservices with Docker, Kubernetes and Terraform by Ashley Davis, but there are significant differences as per the tech stacks and infrastructure used in this implementation. Nonetheless, having a copy of the book is recommended since I will not cover in depth many topics covered on the book and others not at all.
Tools Require to Build the Microservices
Unlike monolith architectures, microservice architectures may potentially use multiple tech stacks within one app; i.e., each microservice in the app may use a different tech stack. As each microservice is introduced throughout the project, its tech stack will be covered in more detail. For the moment, Table 1 introduces the tools that will be required for this phase of the project; these tools, of course, may be substituted by their equivalents. Finally, since my working machine uses Windows, I’ll be using the following tools specific to Windows: Windows Terminal from the Microsoft Store, Windows Subsystem for Linux (WSL), and Git Bash integrated with Visual Studio (VS) Code (for how to do the integration go here).
| Tool | Description |
|---|---|
| Docker | To package and deploy the services; e.g., Docker, Podman, et al. |
| Docker Hub | A private Container Registry; e.g., Docker Hub, Quay.io, et at. |
| Git | A distributed version control system. |
| GitHub | The code hosting platform for version control and collaboration; e.g., GitHub, GitLab, et al. |
| IBM Cloud | The infrastructure. Although I have not personally used this offering, IBM offers to eligible users a $200 USD credit for using Red Hat OpenShift on IBM Cloud. |
| COS | IBM COS stores files in the cloud. |
| OCP | To host the app in the cloud. OpenShift is based on Kubernetes (K8s), but it extends K8s and must be provisioned with Red Hat Enterprise Linux CoreOS; K8s can run on any Linux-based Operating System (OS) as well as Windows in the case of worker nodes. |
| meta-repo | To track multiple repositories as a single aggregate repository thereby making the management of multiple repositories easier. |
| Terraform | Infrastructure as Code (IaC). |
| VS Code | The editor. |
| Table 1. The tools required for this phase of the project. | |
Roadmap for Microservices, OpenShift, and Terraform
After completing all of the parts listed below, you’ll have an app using Terraform to build the infrastructure and bootstrap the microservices in a production-ready OpenShift cluster.
- Part 1 is an introduction and short explanation of the app memories and its initial requirements.
- Part 2 builds our infrastructure using Terraform as the Infrastructure as Code (IaC) tool.
- Part 3 deploys Traefik 2 as the reverse proxy for our cluster with Basic Authentication.
- Part 4 secures Traefik 2 with certificates issue by Let’s Encrypt using Basic Authentication over HTTPS. Cert-Manager is used to help with the management of the certificates.
- Part 5 deploys the ELK Stack in our OpenShift cluster.
Code for Microservices and Terraform
The code for this project is located at https://github.com/juan-carlos-trimino. However, since the project is structured to have a repository per microservice, each repo will contain the code for a single microservice as well as the code to deploy it to the cluster. As for the Terraform code, the cluster and storage code each has its own repo. Finally, there is a repo for the meta-repo code. Below you’ll find the list of repos for this project:
- https://github.com/juan-carlos-trimino/mem-meta-repo
- https://github.com/juan-carlos-trimino/mem-IaC-cluster
- https://github.com/juan-carlos-trimino/mem-IaC-storage
- https://github.com/juan-carlos-trimino/mem-gateway
- https://github.com/juan-carlos-trimino/mem-history
- https://github.com/juan-carlos-trimino/mem-metadata
- https://github.com/juan-carlos-trimino/mem-mongodb
- https://github.com/juan-carlos-trimino/mem-rabbitmq
- https://github.com/juan-carlos-trimino/mem-video-storage
- https://github.com/juan-carlos-trimino/mem-video-streaming
- https://github.com/juan-carlos-trimino/mem-video-upload
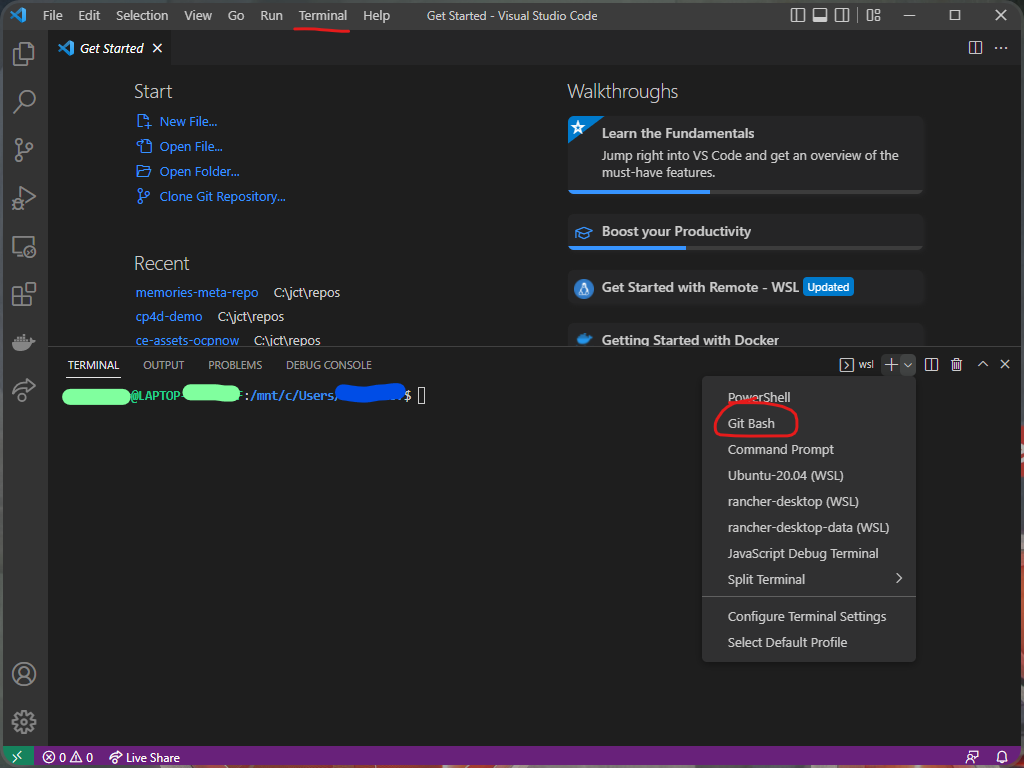
To facilitate working with multiple repos, I’ll use a meta repo. A meta repo tracks multiple repositories as a single aggregate repository thereby making the management of multiple repositories easier. As you may recall from an earlier discussion, Git Bash was integrated with VS Code. Since I’ll be running Git from a Git Bash terminal in VS Code, the meta tool will be installed in a Git Bash terminal. To do so, I’ll open a new VS Code window and from the top menu selected Terminal -> New Terminal. Next, I’ll open a Git Bash terminal as shown below:
Next, I’ll install the meta tool by executing the command below:
$ npm i -g metaOnce the meta tool is installed, it is ready for use. Below is a list of useful commands; please be advised that the meta tool performs Git commands against the entire collection of repositories. The command that is highlighted in red clones the meta repo and all of its children repos; you will execute this command to clone the repos listed above.
To clone the meta repo and all of its children repositories:
$ meta git clone https://github.com/juan-carlos-trimino/memories-meta-repo.git

To get meta project updates, first get the .meta file and then get the missing projects:
$ git pull origin master
$ meta git update

To list all of the files in each project:
$ meta exec "ls -al"

To get the status for all repositories:
$ meta git status

To pull code changes for all repositories:
$ meta git pull

To push code changes for all repositories:
$ meta git push

-------------------
Branching & Merging
-------------------
To switch branch:
$ meta git checkout <new-branch-name>

To create a local branch based on an existing branch other than the current branch and switch to the new branch:
$ meta git checkout -b <new-branch-name> <existing-branch-name>

To create a local branch based on the current branch and switch to the new branch:
$ meta git checkout -b <new-branch-name>

To push a local branch to a remote repo:
$ meta git push origin <local-branch-name>

To merge a remote-tracking branch set up locally:
$ meta git checkout <branch-name-to-merge-into>
$ meta git merge <branch-name-to-merge-from>
$ meta git push origin <branch-name-to-merge-into>

To delete a local branch:
$ meta git branch -d <local-branch-name>

To delete a remote branch:
$ meta git push origin -d <remote-branch-name>
Conclusion
In Part 1, we briefly discussed the app, and some, but not all, of the tools required. We also discussed how to obtain the code as well as a tool to track multiple repos as a single aggregate repo. In Part 2, we’ll set up Terraform to communicate with our cluster. Once the communication is set up, we’ll begin using scripts to create cloud resources in OpenShift, microservices infrastructure, and bootstrapping the application using Terraform. For those wanting to follow along, please ensure the tools and accounts listed in Table 1 have been installed and created, a cluster has been provisioned, and the main branch of each repo listed above has been cloned.
© 2022 Juan Carlos Trimiño. All rights reserved.
I was extremely pleased to discover this site. I wanted to thank you for your time just for this wonderful read!! I definitely enjoyed every bit of it and i also have you saved as a favorite to look at new stuff on your blog.